
The Swedish rye bread kavring is not just for Christmas. It has been part of the Swedish diet for many hundreds of years. Well, at least we’ve eaten it since we got Skåne, or Scania, from the Danes in 1658.
“Doctors consider the bread healthy and nourishing”, Svenska Dagbladet notes in May in 1915, calling it “a real delicacy”.
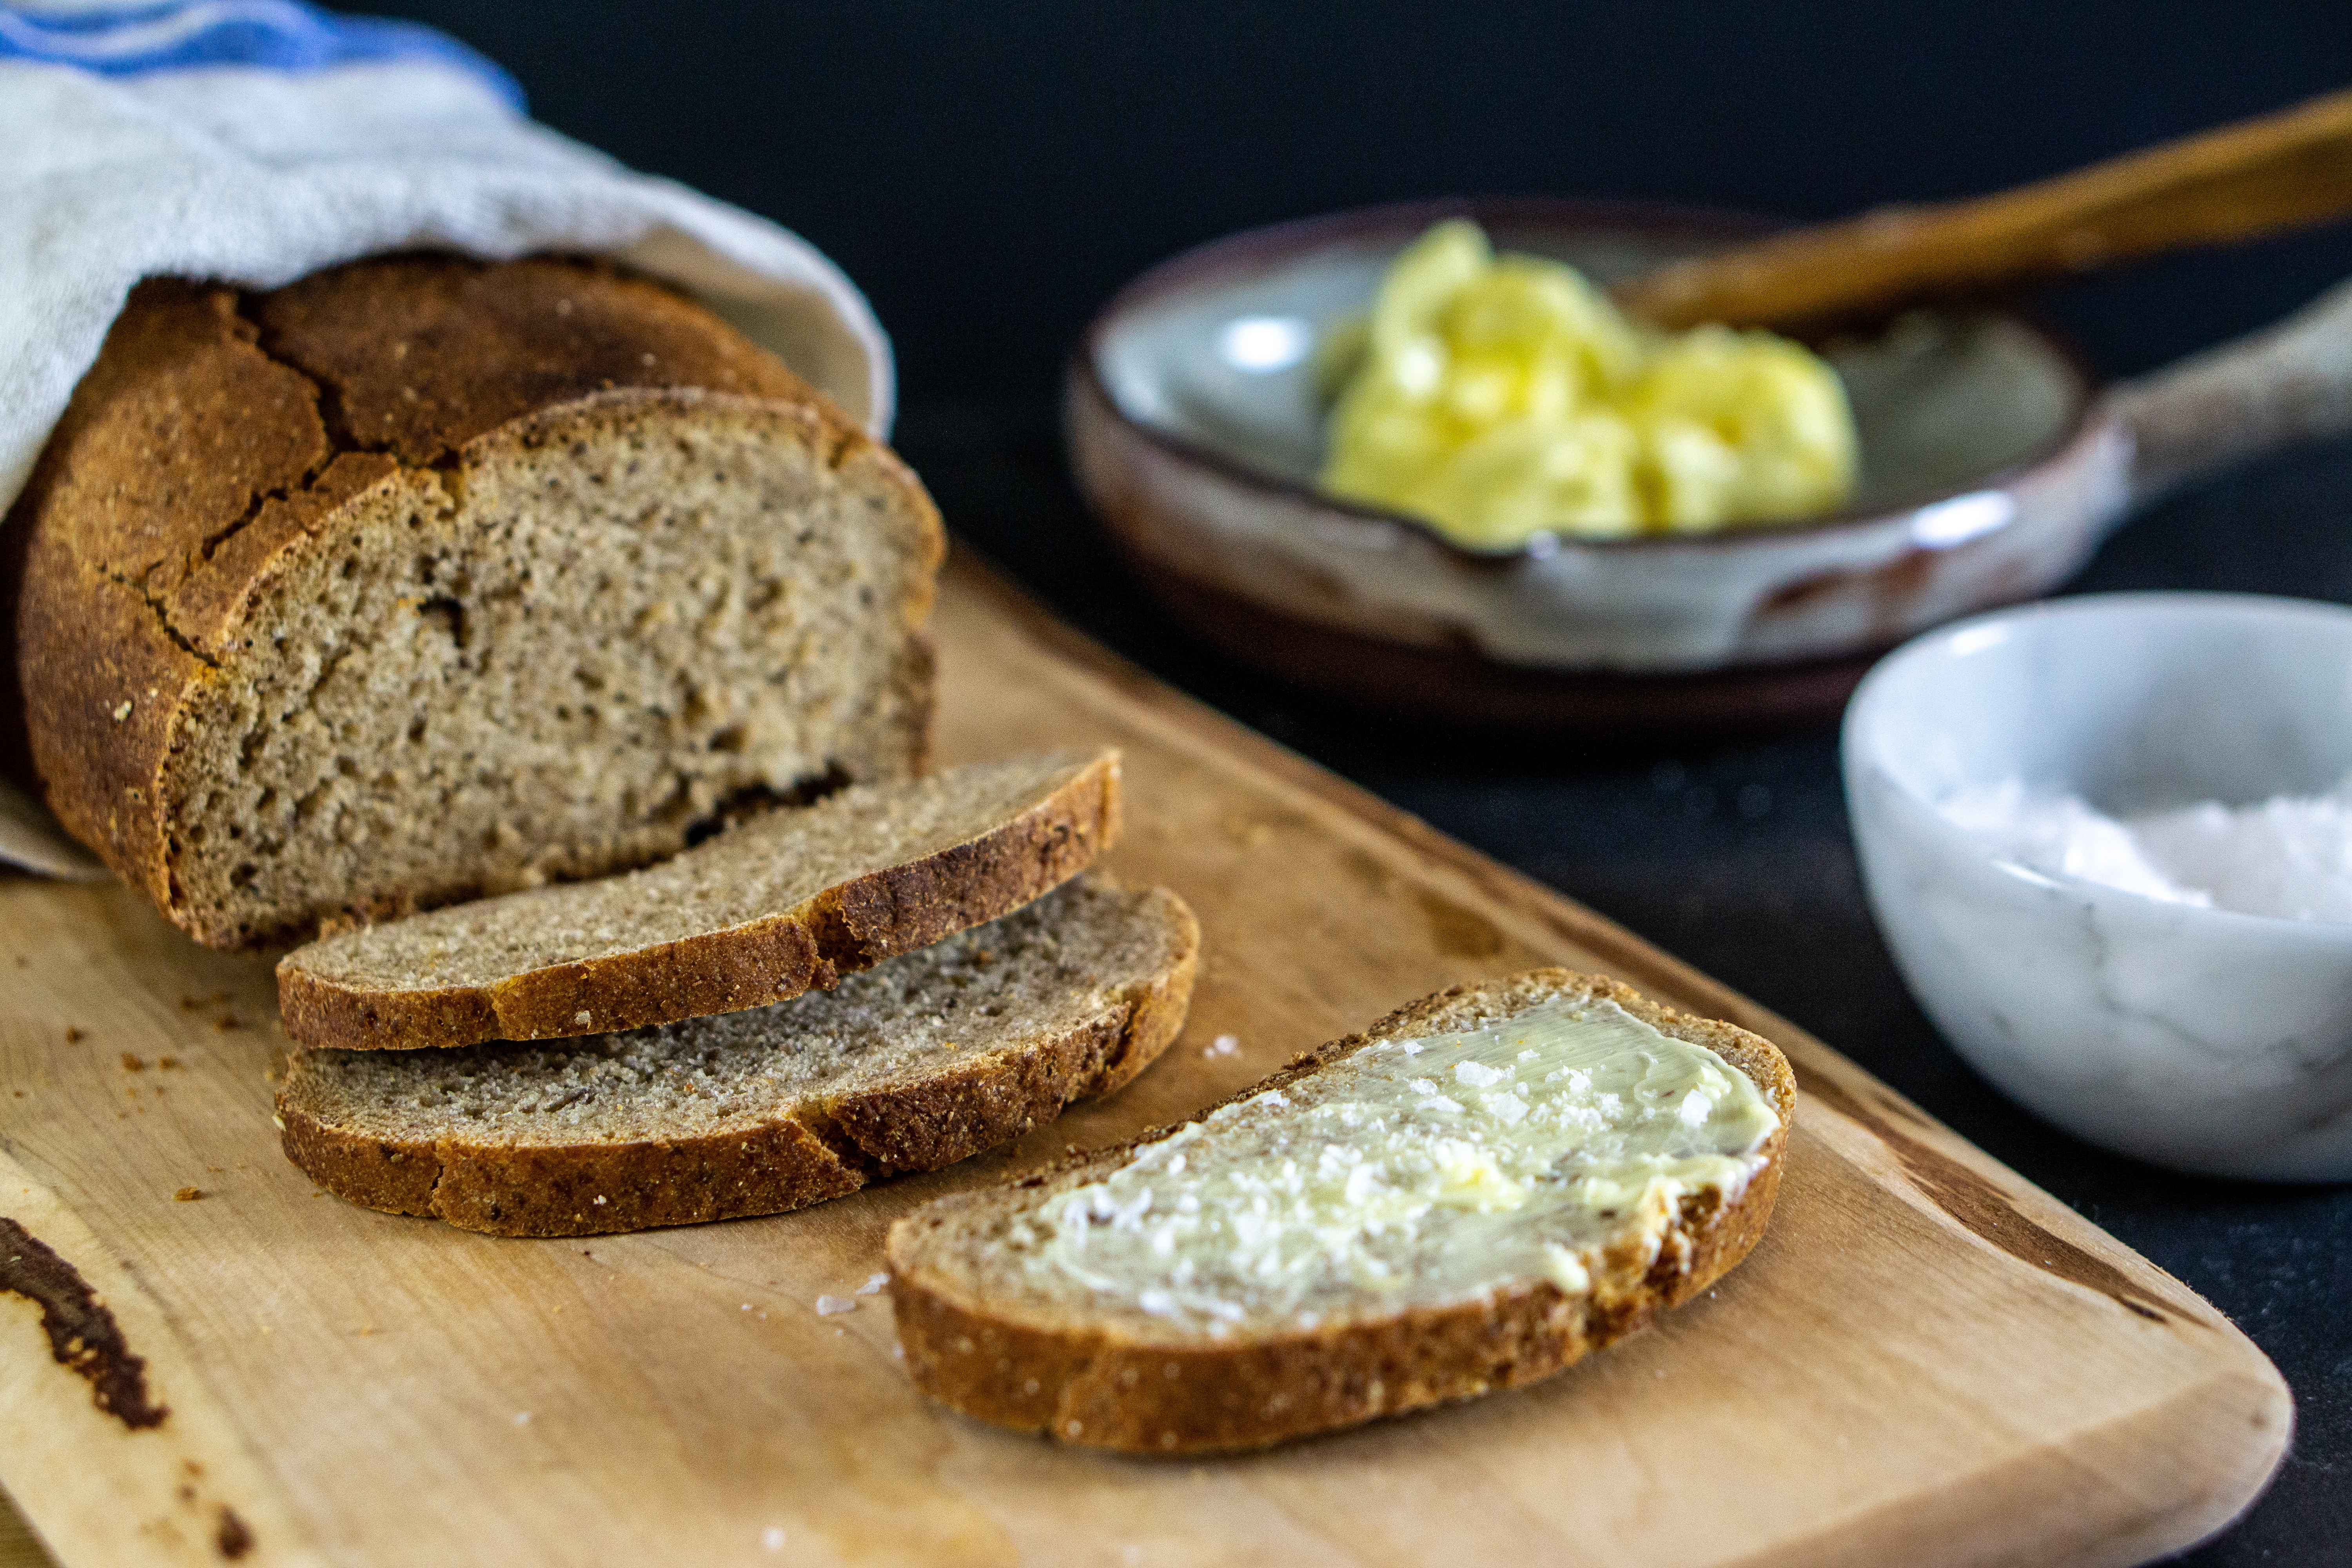
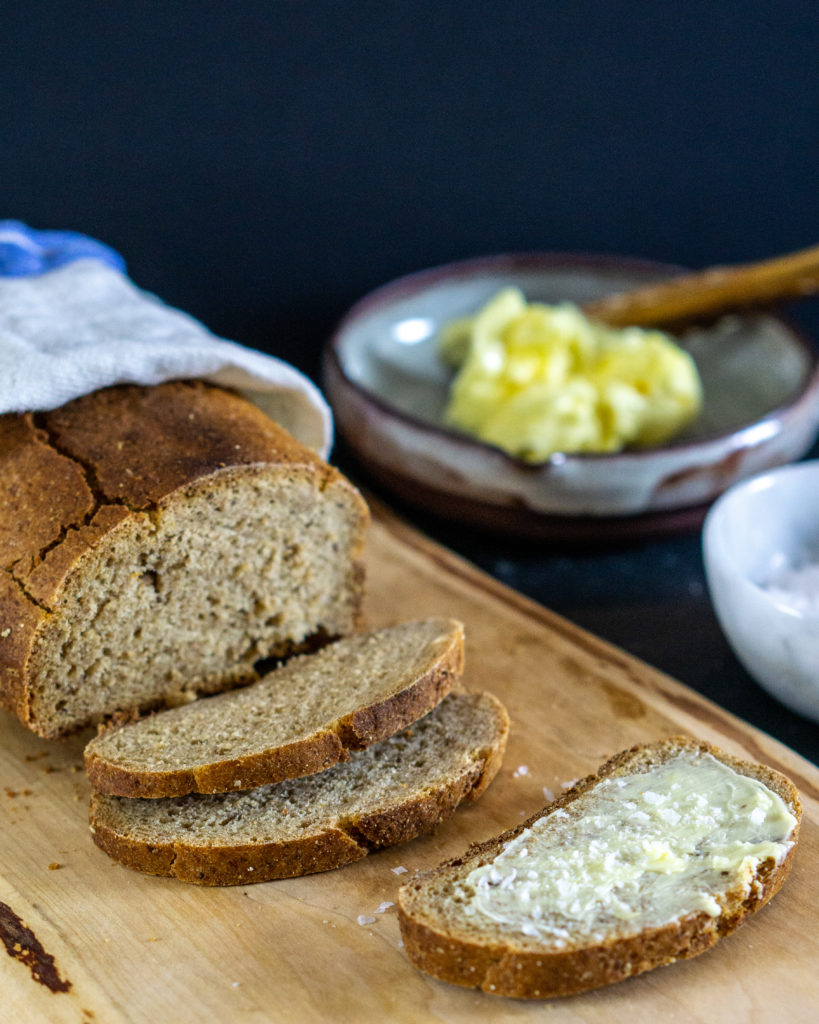
Here is that very delicacy in stop motion:
Kavring has been popular for a long time
Baker Carl-Bertil Widell claims that kavring came to Sweden due to the trade with the Hanseatic League and Skåne (Scania). Apparently, in the 16th century, bakers in Malmö baked a bread called “skonroggen”, from the German schonrogge, or light rye.
The bread was baked with two loaves on top of each other, with a little grease and flour in between so they wouldn’t stick together. After baking, they were cut in half and left in the oven to dry for a while.
The result of baking the bread that way was a bread that very hard to eat but kept fresh for a long time. Food historian Jan-Öjvind Swahn suggests that similar types of bread were soaked in beer before eating—and that they could be stored for up to three years (although they were tough to eat).
In 1896, Charles Emil Hagdahl refers to the bread as skånska limpor, or “bread from Skåne”. He notes that it is known in Halland and Skåne as kafringar and on Gotland as tvebak (twice-baked).
“Twice-baked” kavring
Kavring gets it special flavor when you scald the rye flour on one day, and let it sit until the next day before you bake. In later years, this process is apparently deemed too cumbersome, as many modern recipes suggest using bicarbonate of soda and baking the bread the same day. It doesn’t take much preparation, so if you’ve got time, you’ll get extra flavor by scalding the rye and letting it ferment slightly.
Hagdahl mentions how the bread was baked twice. That is rarely done nowadays.
How to bake kavring that will keep well for days (or years?)
I adapted Magnus Nilsson’s recipe from The Nordic Baking Book. The bread will not get as dark as those you see in the shops—apparently, that is thanks to colorants… While it takes three days before you can eat this bread, the hands-on time required isn’t more than for any other bread. Stick to the weight measurements if you can as they are much more precise, but I’ve added volume measurements as well.
This recipe is slightly heavy on the spices—use a bit less than a teaspoon if you just want a hint. For one loaf (easy to double):
DAY 1
120 g/2 dl (4,2 oz/0,8 cups) fine rye flour
0,5 tsp salt
1 tsp caraway seeds
1 tsp aniseeds
2 dl (0,8 cups) water
DAY 2
85 g (1,3 dl, or 0,5 cups) strong wheat flour
200 g (ca 3,5 dl, or 1,4 cups) rågsikt (a 60-40 mix of strong rye flour and strong wheat flour)
115 g fine rye flour (2 dl, or 0,8 cups)
65 g (0,5 dl or 0,2 cups) golden syrup
9 gr fresh yeast
115 ml (0,5 cups) water
butter and some extra wheat flour for the loaf tin
- Day 1: Add all the dry ingredients for day 1 into a heat-proof bowl. Bring the water to a boil and pour it over the ingredients in the bowl. Give it a stir until you have a smooth, thick porridge. Let it rest, uncovered, until the next day.
- Day 2: Measure up all the flours into a stand-alone mixer with a dough hook.
- Stir out the fresh yeast with the water. Add that water and the golden syrup to the flour mixture.
- Add the porridge from day 1 to the mixing bowl.
- Mix on medium speed for about 15 minutes, until it is smooth and elastic. Cover the bowl with a towel and let the dough rise until it has doubled in size. This takes anything from 30-120 minutes—baking in the wintertime, it has taken me around 1,5 hours every time.
- Turn on the oven at 175°C (345°F). Butter a loaf pan and dust it with flour.
- Shape the dough into a loaf and place it in the loaf pan. Cover and let the bread rise again.
- Place the loaf tin on a baking tray. Place a baking sheet over the tin, and then place another baking tray on top. Place something heavy and oven-proof on top of it all—I tend to go for an oven dish of cast iron.
- Place it in the oven for about 1 hour. Put the loaf on a wire rack and let it sit until the next day until you slice and eat.
Suggestions
Feel free to experiment with flavors—some add fennel seeds or ground bitter orange peel.

Oh I got a glimmer of hope when I saw the photos and read the descriptions for the kavring. Olga and Alma’s recipes looked and tasted as you wrote, but no one bothered to keep the recipes. Ugh. We still make potatis korv and lefse, and now I’m going to put my foot down and make this. By the time the yule log is being picked out I’ll have the recipe down.
Or I sure hope. I’m glad to have found your website here.
hejdå för nu
Hi Gregory, I hope you’ll like it! Bakers like Olga and Alma would often know their recipes by heart and adjust as they went along… no doubt you’ll get there, too, if you decide to make it a few times!